CLOSE
P:
Search
ROB STRAIN PHOTOGRAPHY
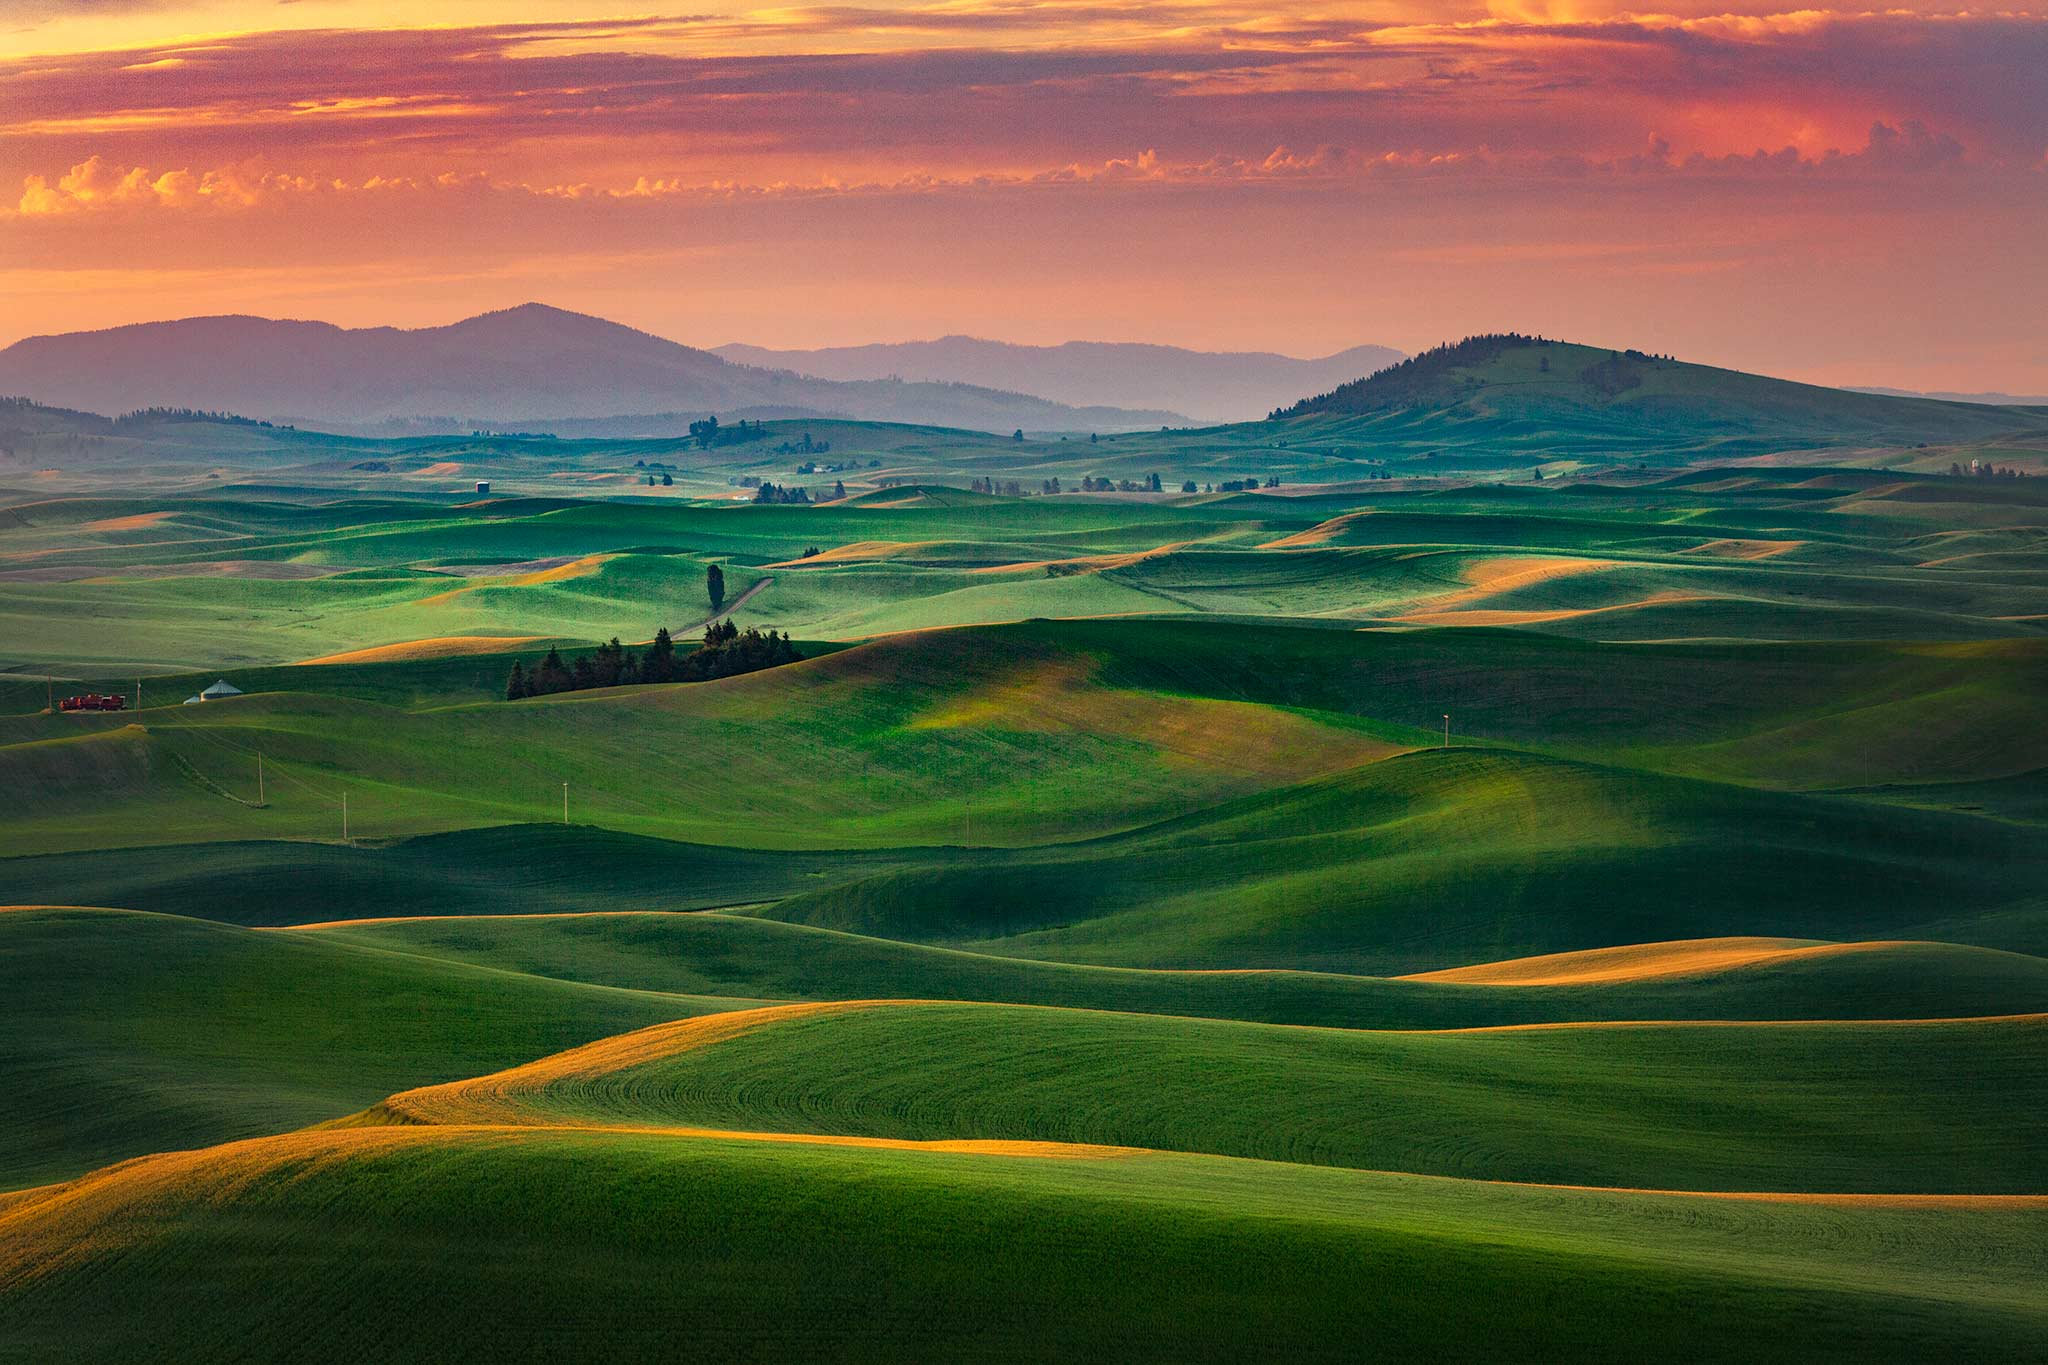
PORTFOLIO
MOTION
ABSTRACTS
WANDERING
VIEWING
SLOTS & CAVES
GRAND CANYON
PUEBLOS & PETROGLYPHS
GROWING THINGS
BLOWING SANDS
SHINING SKIES
BREAKING
FLOWING STREAMS
PRESCOTT SEDONA
SOUTHEAST
SWAMPS
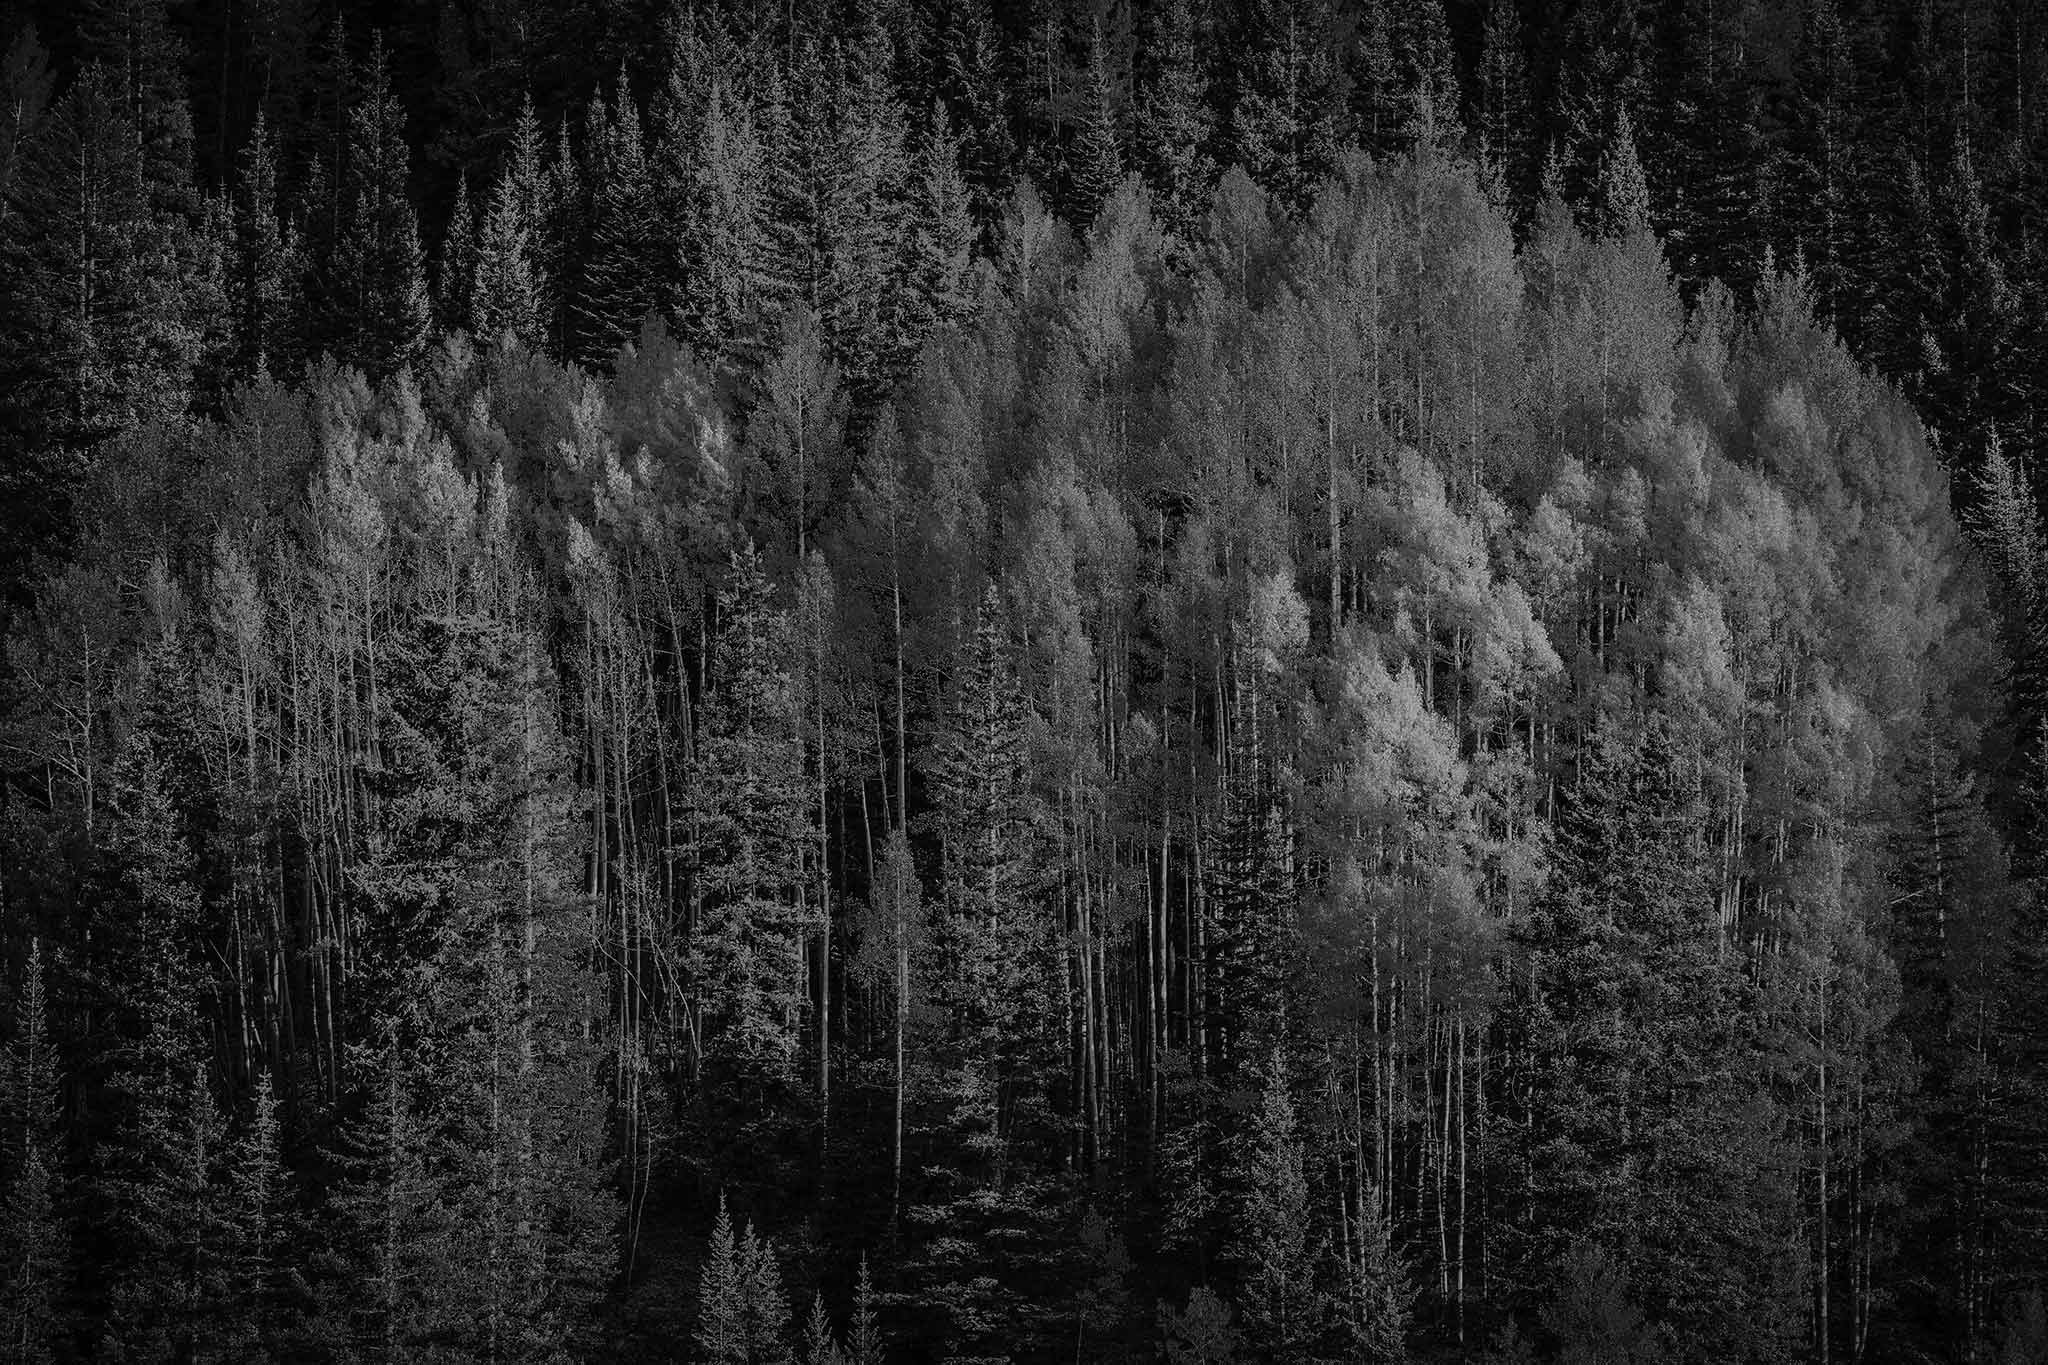
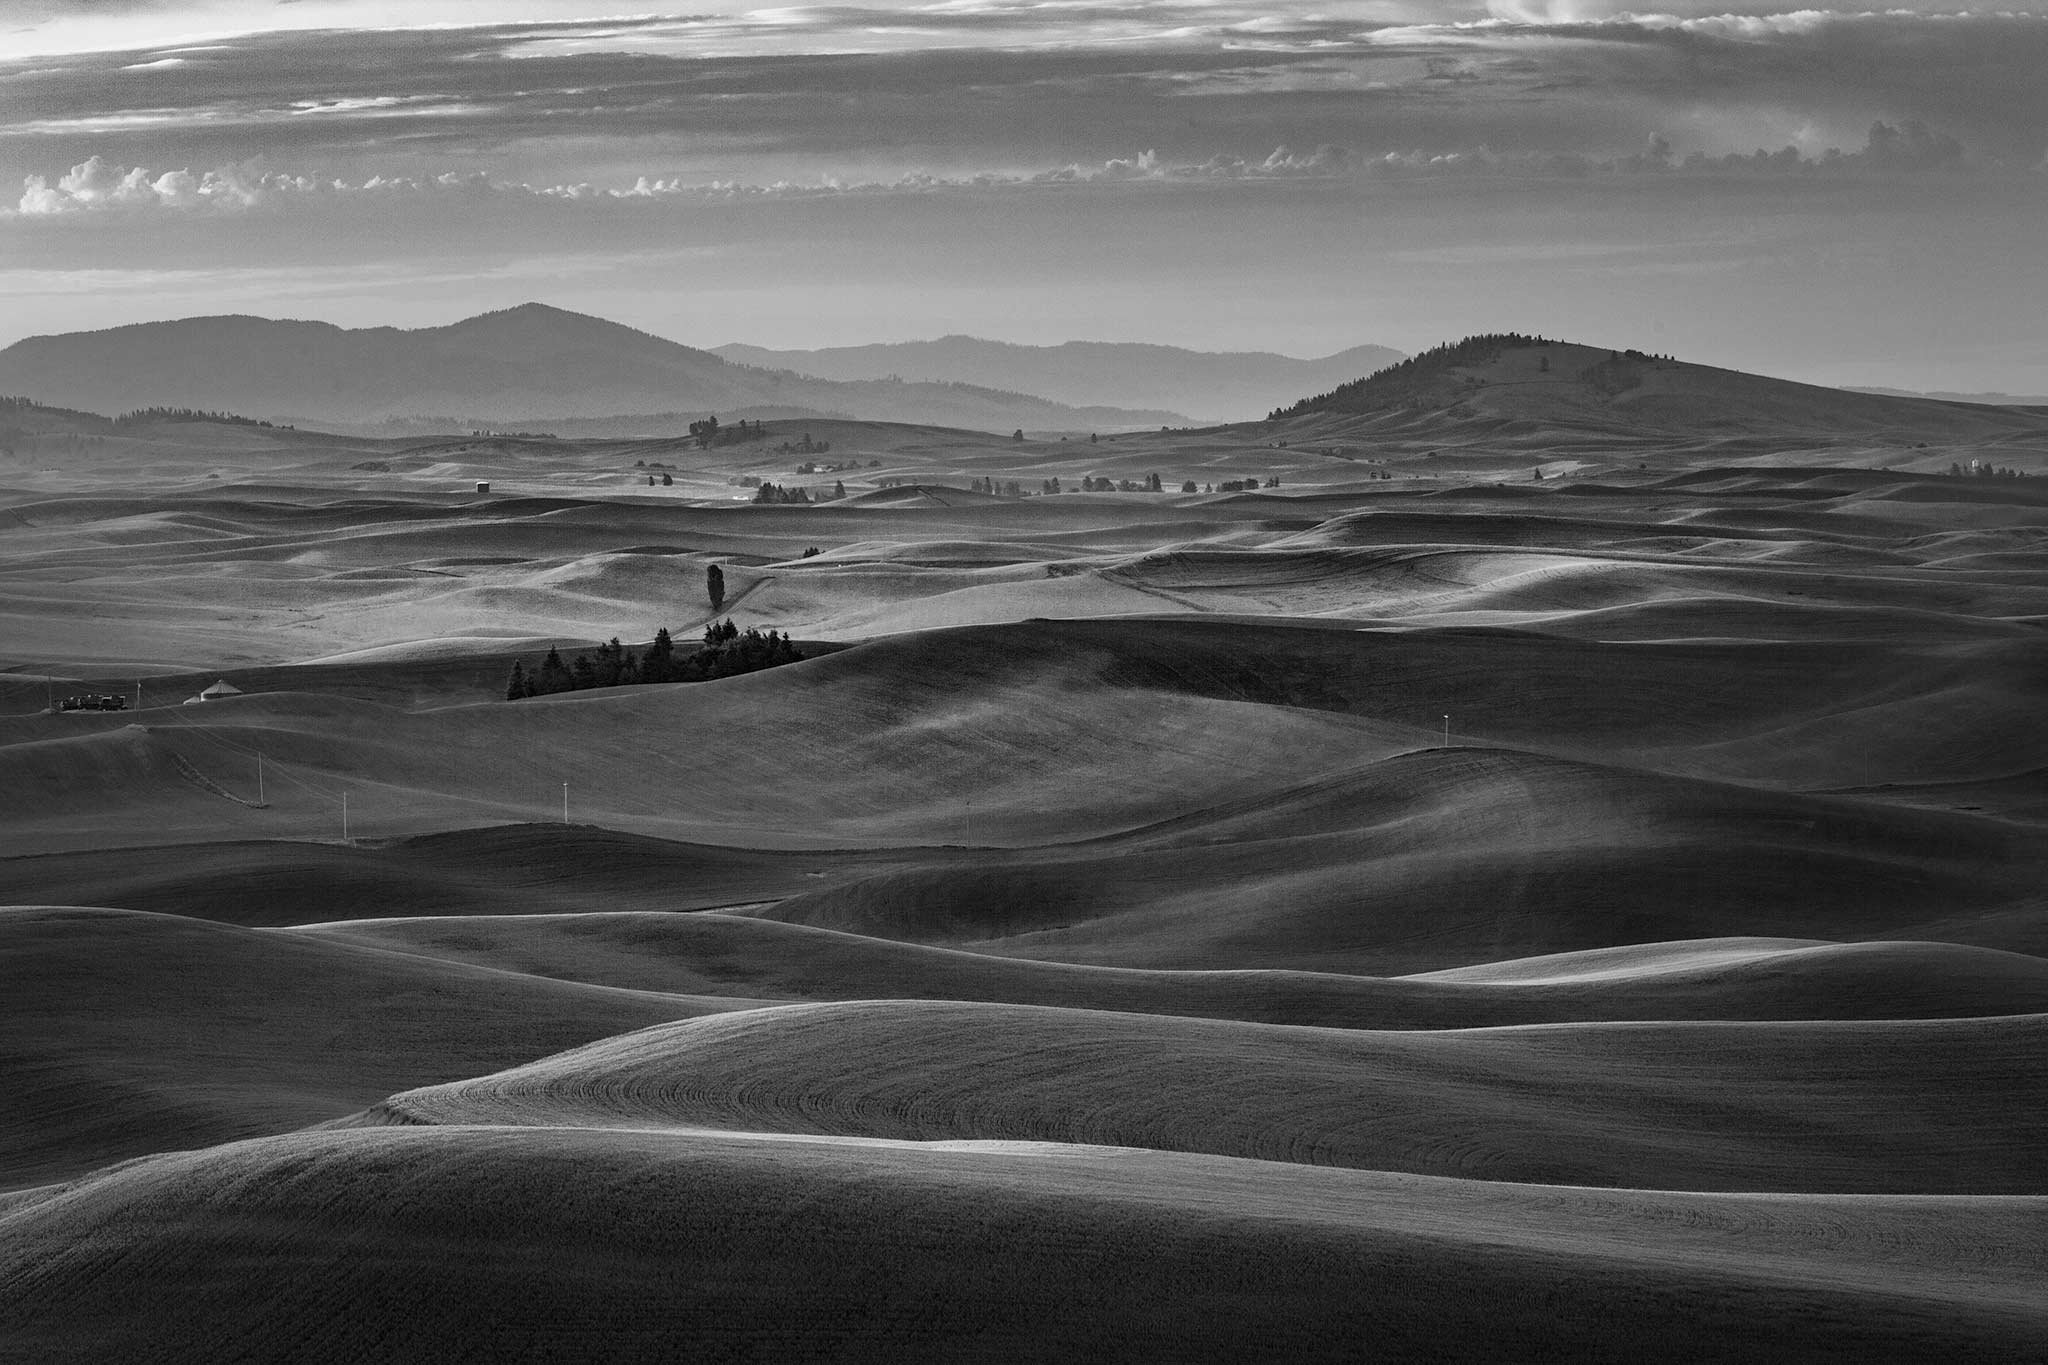
MONOCHROME
WINTER
FALL
SPRING
FEATURED PRINT
HIRE, WORKSHOPS, ETC
WORKSHOPS & PHOTOTRIPS
SOUTHWEST PHOTO WORKSHOPS
PHOTOGRAPHY WORKSHOPS
JOSHUA TREE PHOTOGRAPHY WORKSHOP
DEATH VALLEY PHOTOGRAPHY WORKSHOP - MARCH 2026
GRAND CANYON MONSOONS PHOTO TRIP
2027 MONSOONS ON THE RIM PHOTO TRIP
MOOD OF THE SWAMP PHOTO WORKSHOP
CADDO LAKE PHOTO WORKSHOP DETAILS
PRE-SESSION FORM
PORTFOLIO REVIEW
POST PROCESSING
TESTIMONIALS
WORKSHOP POLICIES
LIABILITY RELEASE
NEWSLETTERS
JUN 2026
APR 2026
DEC 2025
OCT 2025
AUG 2025
APR 2025
FEB 2025
JAN 2025
NOV 2024
JUL 2024
JUN 2024
MAY 2024
APR 2024
MAR 2024
FEB 2024
JAN 2024
DEC 2023
NOV 2023
OCT 2023
SEP 2023
AUG 2023
JUL 2023
JUN 2023
MAY 2023
APR 2023
MAR 2023
FEB 2023
JAN 2023
DEC 2022
NOV 2022
OCT 2022
SEP 2022
AUG 2022
JUL 2022
JUN 2022
MAY 2022
APR 2022
MAR 2022
FEB 2022
JAN 2022
DEC 2021
NOV 2021
OCT 2021
BLOG
STARRY, STARRY NIGHT
REINVENTING ONESELF
HIKING WITH BILL
ORIGINALITY & CREATIVITY
SWAMP HORRORS
DARK SIDE OF PHOTOGRAPHY
GRAFFITI VANDALISM
SATURATED PHOTO MARKET
LIARS & PHOTOGRAPHERS
AI & PHOTOGRAPHY
PHOTOGRAPHERS' SOLITUDE
GOAL SETTING
SWAMP REPORT
FIELD NOTES
AN EYE FOR ART
FINE ART PHOTOGRAPHY
HIRE A GUIDE , TAKE A WORKSHOP
LEAN ON LISTS
PHOTOGRAPHY IS A SPORT
CLIFF RAGE
THE ART OF COMMENTS
PRE-FORGIVEN
SIZE MATTERS
PHOTOBOOMERS
MILKY WAY PHOTOGRAPHY
MULTIPLE EXPOSURE FUN
CAMERA MOVEMENT
MASKS SIMPLIFIED
RADIAL FILTER MASK
SELECT OBJECT MASK
RANGE MASKS
NEGATIVE CLARITY
BUILDING FRAMES
DENOISE & SHARPENING
GALLERY REPRESENTATION
ART SHOW GUIDE
BORDER PATROL
MAKE IT POP!
SEEING HALOS
SEEING SPOTS
REFLECTED LIGHT
MODIFYING SATURATION
BE A GALLERY ARTIST
FINDING STYLE
MINIMALISM
BREAK THE RULES
LEADING LIGHT
KEEP IT SIMPLE
BALANCE YOUR COMPOSITION
CREATING DEPTH
FIND AN ANGLE
RULES & FRAMES
WHAT IS YOUR SUBJECT?
MISTAKES PHOTOGRAPHERS MAKE
TRIM BODIES ARE IN
CAMERA & LENS DECISIONS
TRIPOD SELECTION
BUY A BAG OR TWO
3 IMPORTANT FILTERS
DAY 1 WITH CAMERA
DAY 2 - LEARN TO FOCUS
EXPOSURE CONTROL
CROOKED PHOTOGRAPHERS
DECOR
BUYING FRAMES
ART FESTIVAL SHOPPING
LIGHTING PRINTS
VALUE OF PHOTOS
COLOR BLINDNESS
HOW TO VISIT AN ART GALLERY
WALL ART PREVIEWS
B&W DARKROOM PRINTS
HANG IT!
COVER THAT PRINT
PRINT DECISIONS
WHY PHOTO SALES ARE SURGING
DETAILS MATTER
PRESCOTT ART GALLERIES
RESOURCES
HOW TO PHOTOGRAPH ANTELOPE CANYON
GOLF COURSE PHOTOGRAPHY
RESEARCHING WEATHER
RESEARCHING LOCATIONS
VIRTUAL CONSULTATION
OUR PRINT FORMATS
SMART PRINT CHOICES
PRINTING SERVICES
E-books
CONTACT
I SHARED
FAQ
ABOUT
SUBSCRIBE
PRIVACY POLICY
FRAMES
PHOTOGRAPHY INSTRUCTION
Death Valley Night Photography
Extra (link)